What Bricks MCP Does
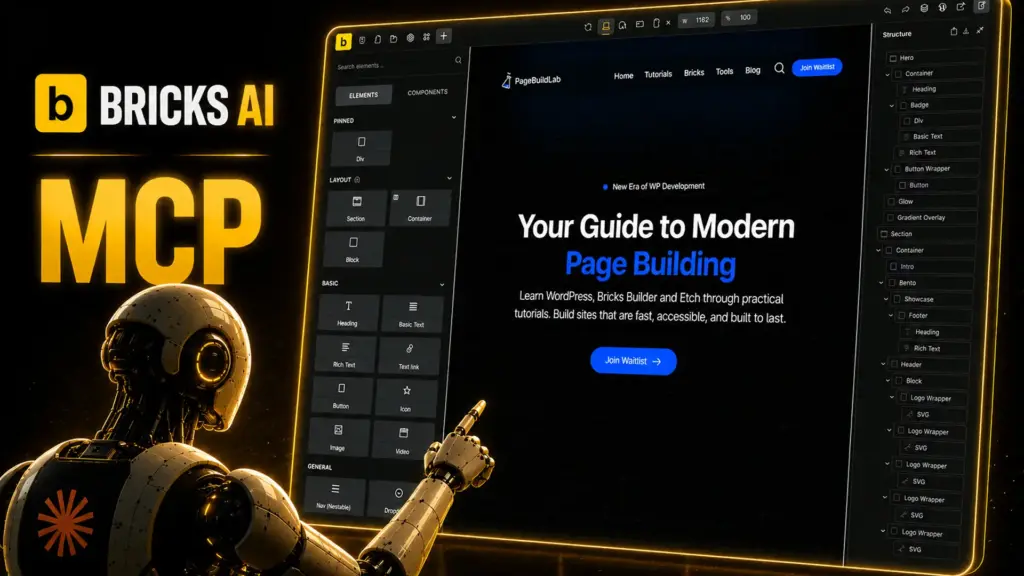
MCP stands for Model Context Protocol, an open standard for connecting AI assistants to external tools and data. Bricks uses it to give an AI structured access to your site. Instead of describing your layout in a chat window or pasting element JSON back and forth, the AI can read your content, templates, and design settings directly and make changes through a defined set of permissions.
That last part matters. The AI doesn’t get free rein. You decide exactly what it can touch, and everything goes through Bricks rather than around it.
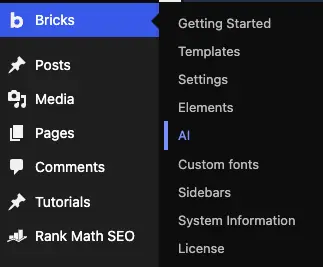
The whole setup lives in one place: Bricks → AI in the WordPress backend. The video walks through every click, so here’s the overview of what each step does.
Step 1: Install the WordPress MCP Adapter
Bricks relies on the WordPress MCP Adapter plugin to handle the connection. Install and activate it directly from the AI screen.
Step 2: Create a Credential
Your AI client needs its own credential to connect. Give it a name that tells you which tool it belongs to, then generate a password. If you use more than one AI tool, create a separate credential for each so you can revoke one without breaking the others.
Treat the Credential Like an Admin Login
Anyone with this password can act on your site within the abilities you enable. Don’t paste it into shared chats, commit it to a repo, or reuse it across tools.
Step 3: Connect Your AI
Bricks lets you either paste a config manually or hand the setup to the AI itself. The second option is faster: Claude Code configures the connection on its own. It takes a moment to process, which is normal.
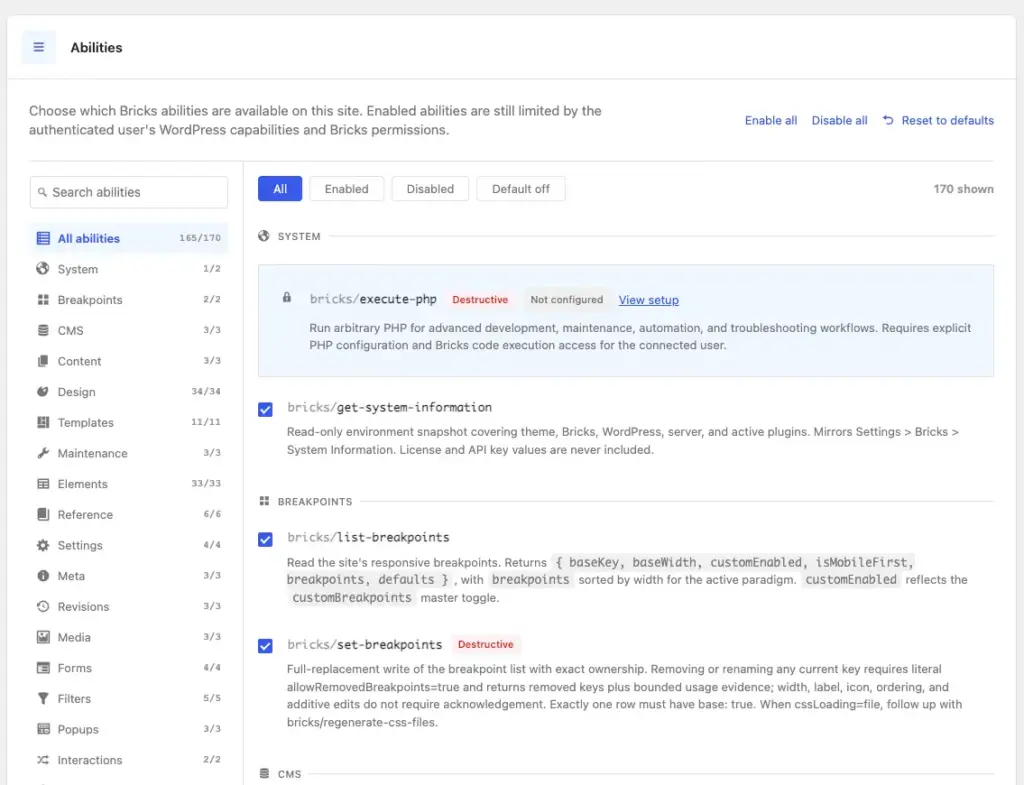
Step 4: Enable the Bricks Abilities
Back in Bricks, enable the Bricks Abilities and save your settings. Without this step the AI is connected but can’t do anything useful.
Step 5: Install the Skills
The Skills tab gives the AI the context it needs to work with Bricks properly, so it understands how elements, classes, and templates fit together.
Step 6: Verify the Connection
Run the verification from a fresh Claude window. That confirms the setup persists outside the session you configured it in.
Choosing Which Abilities to Enable
The Bricks Abilities define what the AI is allowed to read and edit. They cover areas like Breakpoints, CMS, Content, Design, Templates, and more, and you toggle each one individually.
My advice is to enable only what the task needs. If you want the AI adding CMS entries, it doesn’t need access to your breakpoints or global design settings. Fewer abilities means a smaller blast radius when a request gets misread. Expand access once you’ve seen how it behaves on your site.