What You Need
You don’t need any extra Figma plugins. The workflow runs on an AI tool such as Claude or Codex, connected to your Bricks site through MCP. If you haven’t set that up yet, follow my guide on connecting Bricks Builder to AI with Bricks 2.4 MCP first. Everything below assumes the AI can already read and edit your Bricks site.
For the example, I picked a simple portfolio template from Figma. It has a hero, a services section, client logos, project cards, testimonials, and a footer with a contact form. That is enough variety to test reusable components without turning the demo into a stress test.
Why One Prompt Isn’t Enough
A prompt like “Convert this Figma design to Bricks” leaves every structural decision to the AI. It might style elements one by one, drop in Code elements, hardcode pixel values, or rebuild the same card six times. The page can look right in the browser and still be a pain to maintain.
So before sending a prompt, I define how the site should be built. Native Bricks elements, global classes, variables, and reusable components are not things the AI picks by default. They have to be written down as rules.
Set Up the Project Folder
All the context lives in one folder that the AI reads before it starts. It contains a rules file, a design system file, the exported design, and the assets.
- assets
- images
- home-hero.webp
- project-acrylic-paint-pouch.webp
- project-book-cover-isaiah.webp
- project-chocolate-packaging.webp
- project-design-books.webp
- project-editorial-book-spread.webp
- project-print-catalog.webp
- placeholder-testimonial.webp
- art-direction.svg
- product-design.svg
- visual-design.svg
- addidas-logo.svg
- apple-logo.svg
- google-logo.svg
- nike-logo.svg
- samsung-logo.svg
- design
- Portfolio-Template.png
- CLAUDE.md
- design-system.md
CLAUDE.md: The Project Rules
CLAUDE.md describes how the AI should approach the project. It is the most important file in the folder, because it decides whether the result is something you can work with in Bricks or something you’ll rebuild by hand.
It starts with a fixed workflow. Before building anything, the AI reads the design system, inspects the design and every asset, and checks what already exists on the Bricks site. If matching classes, variables, or components are already there, it reuses them instead of creating duplicates. Then it writes a short inventory of sections and repeated patterns, builds the foundation, creates the components, and only then assembles the page.
The core rule is native Bricks only. No Code elements and no custom CSS without asking first. I want to open the page in the builder and edit every element the normal way.
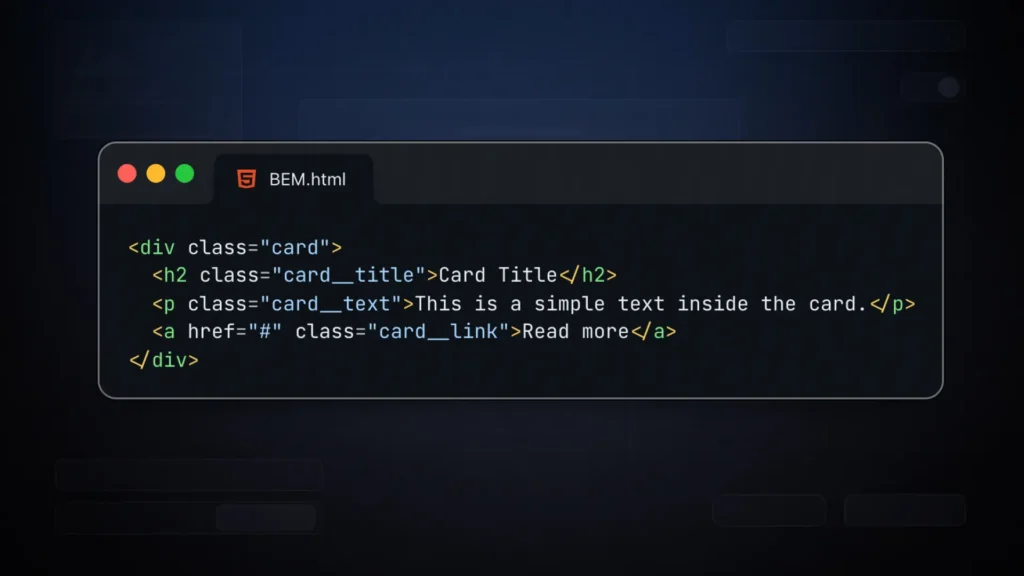
Styling goes through global classes with BEM naming, never through element IDs or element-level settings. That keeps styles reusable and makes later changes a one-place edit. The same thinking applies to structure: any pattern that appears two or more times in the design becomes a Bricks component, with properties for the text, image, alt text, and link that change per instance.
Spacing and font sizes use the native Bricks fluid spacing and fluid typography scales instead of fixed pixel values. Pixels are only allowed where a fixed size is intentional, such as borders or avatar sizes, and the AI has to list those cases in its report.
Fonts are hosted locally as WOFF2 through Bricks Custom Fonts. Google Fonts and external font CDNs are off limits. If you want the background on that, read why you should stop using Google Fonts in Bricks.
The file also covers responsive behavior, accessibility to WCAG 2.2 AA, a short list of known Bricks pitfalls, and the final report the AI has to deliver.
Rules Over Prompts
Put the decisions that apply to every project in CLAUDE.md and keep the prompt short. The rules file is reused across builds; the prompt only says what to build this time.
design-system.md: The Design Details
design-system.md holds the values for this particular design: the five colors, the font family Epilogue with its two weights, the 1232px container width, the border radius, and the spacing approach. It also defines content details such as where navigation links point and which email address the contact form uses until a real one is set.
Writing these values down gives the AI a consistent starting point instead of guessing from pixels. Anything missing from the file, the AI samples from the design and reports.
The Exported Design
I exported the Figma design as a desktop image and placed it in the design/ folder. There is no tablet or mobile version, so the rules tell the AI to derive those layouts itself and document its decisions.
An image export is not the only option. You can also connect your AI tool to Figma through the Figma MCP server, which gives it structured access to frames, layout, and variables. For this demo, the image was enough.
The Assets
The assets/ folder contains every image, illustration, and logo from the design. With the real files in place, the AI imports them into the media library with alt text instead of reaching for placeholders.
Send the Prompt
With the folder in place, the prompt itself stays short. It points to the rules and the design system, sets the order of work, and asks the AI to check its own result at the breakpoints before it reports back.
Implement the provided desktop design in Bricks Builder.
Follow the workflow in CLAUDE.md step by step and use the values from design-system.md.
- 1.Analyze
/design/, every file in/assets/, and the current Bricks setup (classes, variables, components, breakpoints). - 2.Write a short inventory before building: sections (with or without heading), repeated patterns that become components, and what goes into header/footer.
- 3.Build the foundation, then the components, then the page from component instances.
- 4.Derive tablet and mobile from the desktop design yourself.
- 5.Compare the result with the design, fix differences, and check 991px, 767px and 390px.
Use only native Bricks elements: no custom CSS, no Code elements, no hardcoded spacing, pixel values only where a fixed size is intentional.
Do not stop after the plan or the inventory; continue with the implementation. If Bricks cannot be reached, say which connection or access is missing instead of claiming the design has been implemented.
Finish with the report described in CLAUDE.md.
The last two instructions matter more than they look. Without them, an AI may stop after the plan and wait for approval, or answer a failed connection with a confident summary of work that never happened.
The Result
The finished homepage came out very close to the Figma design.
It was not perfect on the first try. The submit button in the footer form is slightly bigger than in the original. That is a small fix you can make yourself in Bricks or hand back to the AI. Expect more of these differences with more complex designs.

Check How It’s Built in Bricks
The visual result is only half of the test. The other half is whether the page is built the way the rules asked for.
The styling runs through global classes. The AI created variables for the colors, the typography, and the spacing, and it built components for the repeated patterns, such as the project card and the testimonial card. Each card on the page is an instance of its component, not a copy. The generated frontend code is clean as well.
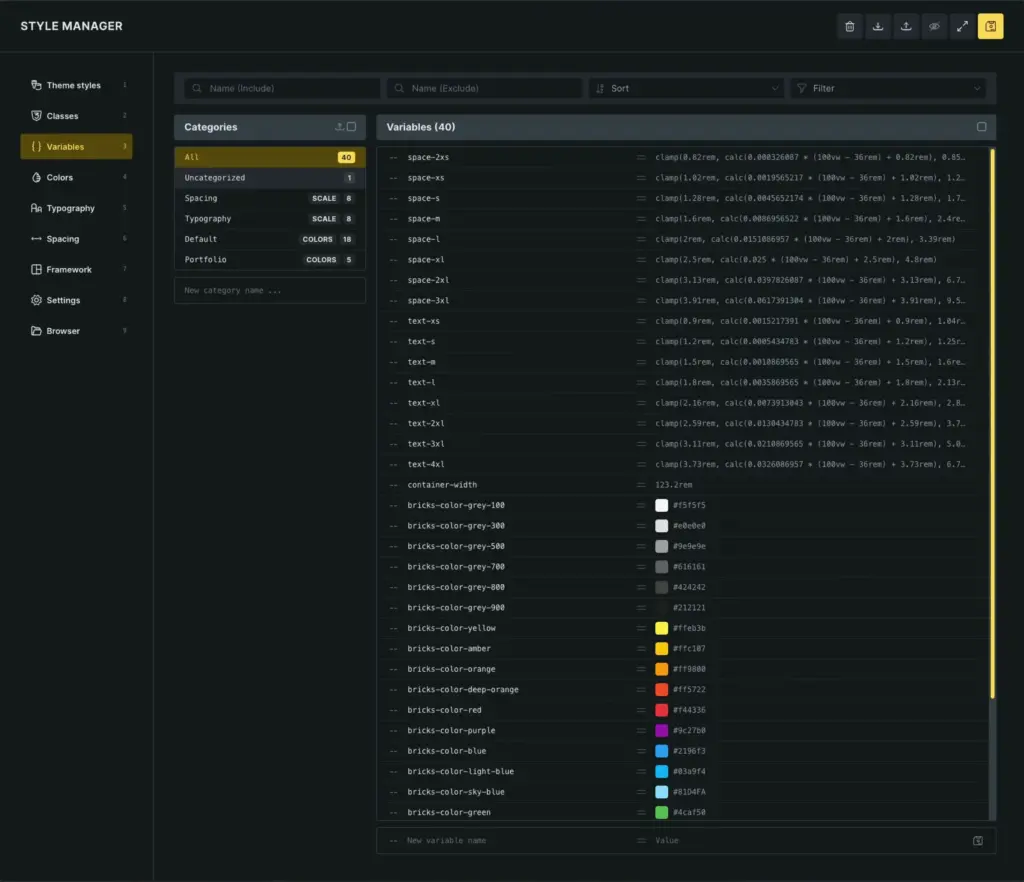
It also downloaded the Epilogue font files and hosted them locally through Bricks Custom Fonts. Switching through the breakpoints shows that the tablet and mobile layouts it derived from the desktop design hold up.
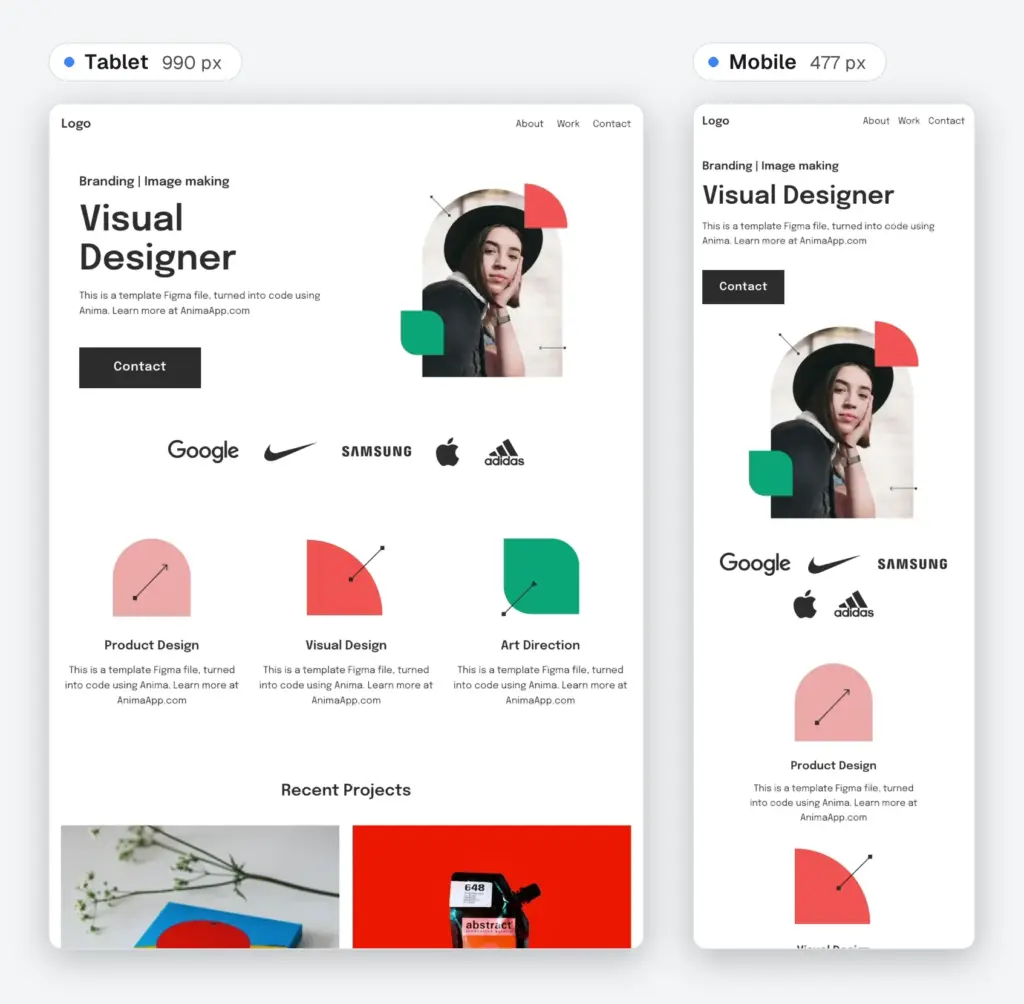
That is exactly what the project rules defined at the start, which is the point of writing them.
Review the Report, Then the Builder
The AI’s final report tells you what it believes it built. Open the structure panel, classes, and components in Bricks to confirm it before you hand the page to a client.
Adapt the Files to Your Own Design
You can download all the files from this tutorial and use them as a starting point. The ZIP contains CLAUDE.md, design-system.md, the prompt, the design export, and the assets, in the same folder structure shown above.
design-system.md and the prompt have to change for every design, since they carry its colors, fonts, widths, and content details. CLAUDE.md is meant to be reused, but adjust it to how you work. If you use a CSS framework or a different naming convention, change the rules, and the AI will follow those instead. The better your instructions are, the better the result.
I’m still improving these files. Bricks MCP is new, and I’ll keep updating the rules as I learn what works and what doesn’t.
Final Thoughts
Don’t expect an AI to build a perfect website from a single prompt. It won’t. But with clear project rules, a written design system, and the real assets, it gets you to a close, editable, native Bricks build much faster than starting from scratch. The time you save goes into reviewing and polishing instead of rebuilding.
- Converting a Figma design to Bricks needs an AI tool connected to Bricks through MCP, not an extra Figma plugin.
- A one-line prompt leaves structure to the AI. Write project rules first so the result is native Bricks and maintainable.
- CLAUDE.md holds the reusable rules: native elements only, BEM global classes, components for repeated patterns, fluid spacing and typography, local fonts.
- design-system.md holds the values for one specific design: colors, fonts, container width, and content details.
- A desktop image export is enough to start; the Figma MCP server is an alternative for structured design data.
- Ask the AI to compare its result with the design and check every breakpoint before it reports.
- Expect small differences on the first try and verify the build in Bricks, not just in the report.